I was recently answering a question on StackOverflow when I began to think about the root cause of many of these questions. Someone is trying to integrate a new library into their code, but even after reading documentation and relevant blogs, it’s not clear how to make it work. I’m sure we’ve all been there!
When we read code, we’re using our brains to build a mental model of how the code works. When it’s going well, it’s engaging and fun. But sometimes, for whatever reason, the mental picture is just not coming together. Maybe the code base is huge, or it’s written in a way that’s especially hard to understand. In those situations, a visual map of the code can be really helpful, because it reduces my mental workload by creating the pictures that my mind is struggling to create.
In this post, I’ll present a recipe that you can use to visually navigate any Python library and gain a complete understanding of how it works. To do it, we will be using an open source tool called AppMap for VSCode, which I am helping to create.

The procedure like this:
- Install AppMap for VSCode.
- Find or create a test program that uses the library.
- Install the
appmappackage. - Run the test program with AppMap recording enabled.
- Open the AppMap in VS Code.
- Explore and learn the code using the dependency map and execution trace.
For the purposes of this post, let’s say we are using the paramiko SSH package, and we to get a better understanding of how it works. Let’s go!
Get AppMap for VSCode
First, install AppMap from the VSCode marketplace, or use the
Install Extensioncommand inside VSCode. So easy. Choose a test program
Next, find or create a test program that uses the Python package. You can write your own, or you can find one in the project repo, or in the documentation, or you can use a test case from the library test suite. In this example, I’ve written a test program called sshdemo.py.
Install the appmap package
This step is easy, just follow the two-step installation instructions for appmap-python.
Record the test program
If your example program is a pytest or unittest test case, just run the test case with APPMAP=true (set APPMAP=true on Windows).
If you’ve written an example program, like I’m doing here, run the example program with appmap.Recording wrapped around it, then print the AppMap file.
An AppMap file will be generated, which is just a JSON file with the extension appmap.json.
Open the AppMap in VS Code
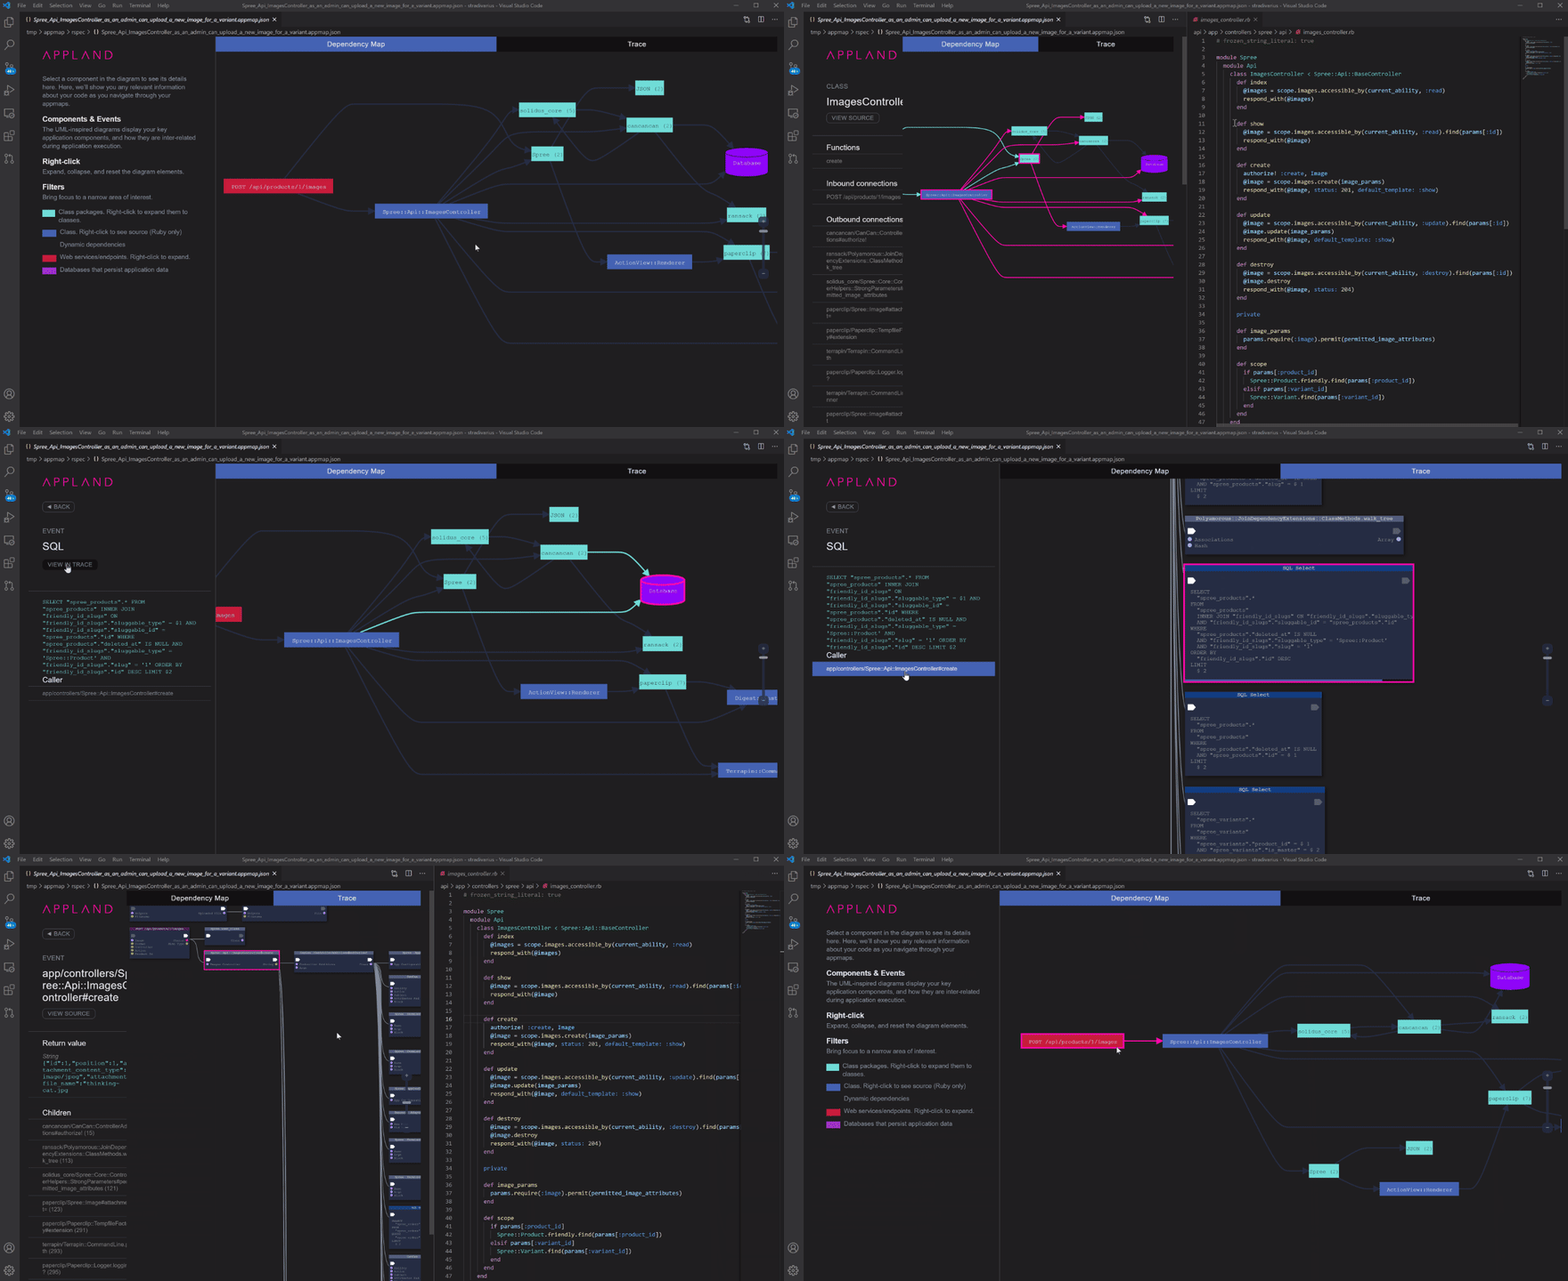
Click on the AppMap JSON file. It opens in VS Code as a beautiful diagram! There are two diagrams, actually. Note that at any point, you can click on an object in a diagram to see details in the left hand side panel. From there, you can click “View Source” to open up the Python file corresponding to the diagram object. In this way, you can navigate quickly and easily between packages and code.
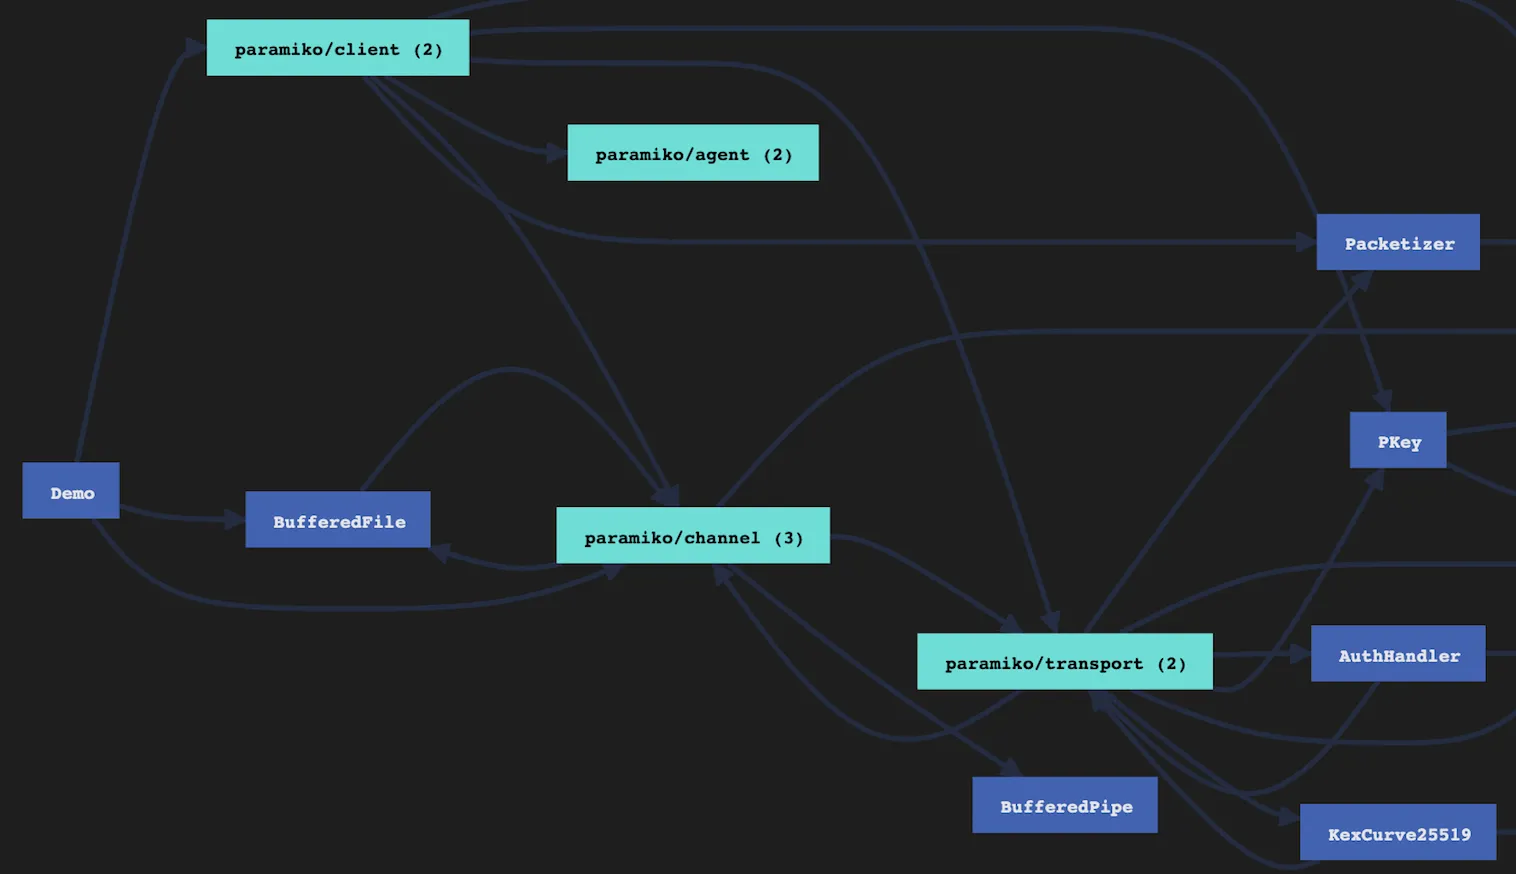
Dependency map
The Dependency map shows the high-level picture of the code packages and how they relate to each other.

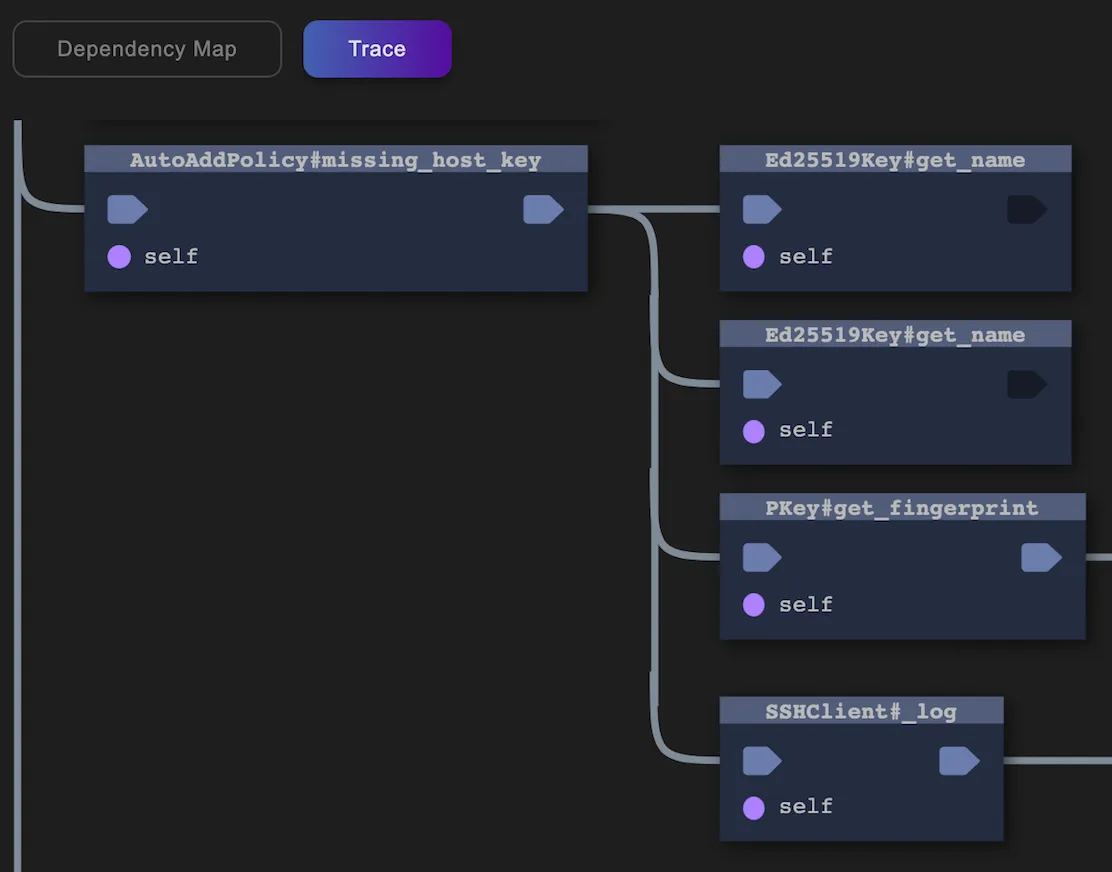
Trace
The Trace view shows the detailed execution path through the code, with parameters, return values, exceptions, etc.

Learn more
This is just a quick overview of using AppMap to explore and learn a Python package. You can visit appmap-python on GitHub to learn more about topics such as:
- Making AppMap Data from
pytestandunittesttests. - Mapping Django and Flask apps.
- Recording an external process. The AppMap for VS Code page includes more information about:
- How to use the diagrams.
- How to share AppMap Data with others.
- How to use AppMap with Ruby and Java.
- How to trim a large AppMap using exclusion lists. And more! Thanks for reading.
Originally posted on Dev.to
