Mastodon (4-part series)
As the Mastodon open source community grows, many developers are coming into the project for the first time and learning more by viewing the documentation. One of the common pieces of documentation that users in both the Mastodon Discourse and GitHub issues are looking for is an up-to-date version of API documentation.
One user proposes writing rswag specs to allow for automatically documenting the APIs and generating the OpenAPI schema. The downside to this approach is the additional engineering time it takes for adding this net new code to the project.
The OpenAPI specification, which is formerly known as the Swagger Specification, is a community-driven open standard for documenting APIs. OpenAPI allows both humans and computers to discover and understand the capabilities of a service without requiring access to the service’s source code.
In the previous parts of this series, we showed you:
- How you can install AppMap into Mastodon
- How to visualize Mastodon code internals
- How to run the Mastodon rspec test suite.
By now you’ll now have AppMap Data recorded from the Mastodon tests. The AppMap Data specification includes all of the API calls processed including the schema of each request and response. Using the AppMap CLI (or the VS Code or JetBrains extension) developers can automatically output OpenAPI specifications for Mastodon in just 3 steps.
- Add AppMap to Mastodon
- Run the Mastodon Test suite
- Generate the OpenAPI Spec
Add AppMap to Mastodon
Check out part 1 of this series to install AppMap libraries into the Mastodon code base, and to install the VS Code or JetBrains extension.
If you are not using VS Code or Jetbrains, or if you want to incorporate OpenAPI generation into your CI/CD system, you can install the AppMap CLI and generate OpenAPI docs on the command line.
Run the Mastodon Test suite
In Part 3 of this series you learned how to run the entire Mastodon rspec test suite. After running the full test suite you’ll have a collection of code-accurate AppMap Diagrams with all the up-to-date API request information within.
Generate the OpenAPI Spec
Now that AppMap recordings exist with our API requests, you can generate the OpenAPI v3 supported specification file via either VS Code or using the AppMap CLI. From there you can import this into Postman, other API management tools, or share with your team.
Generate in VS Code
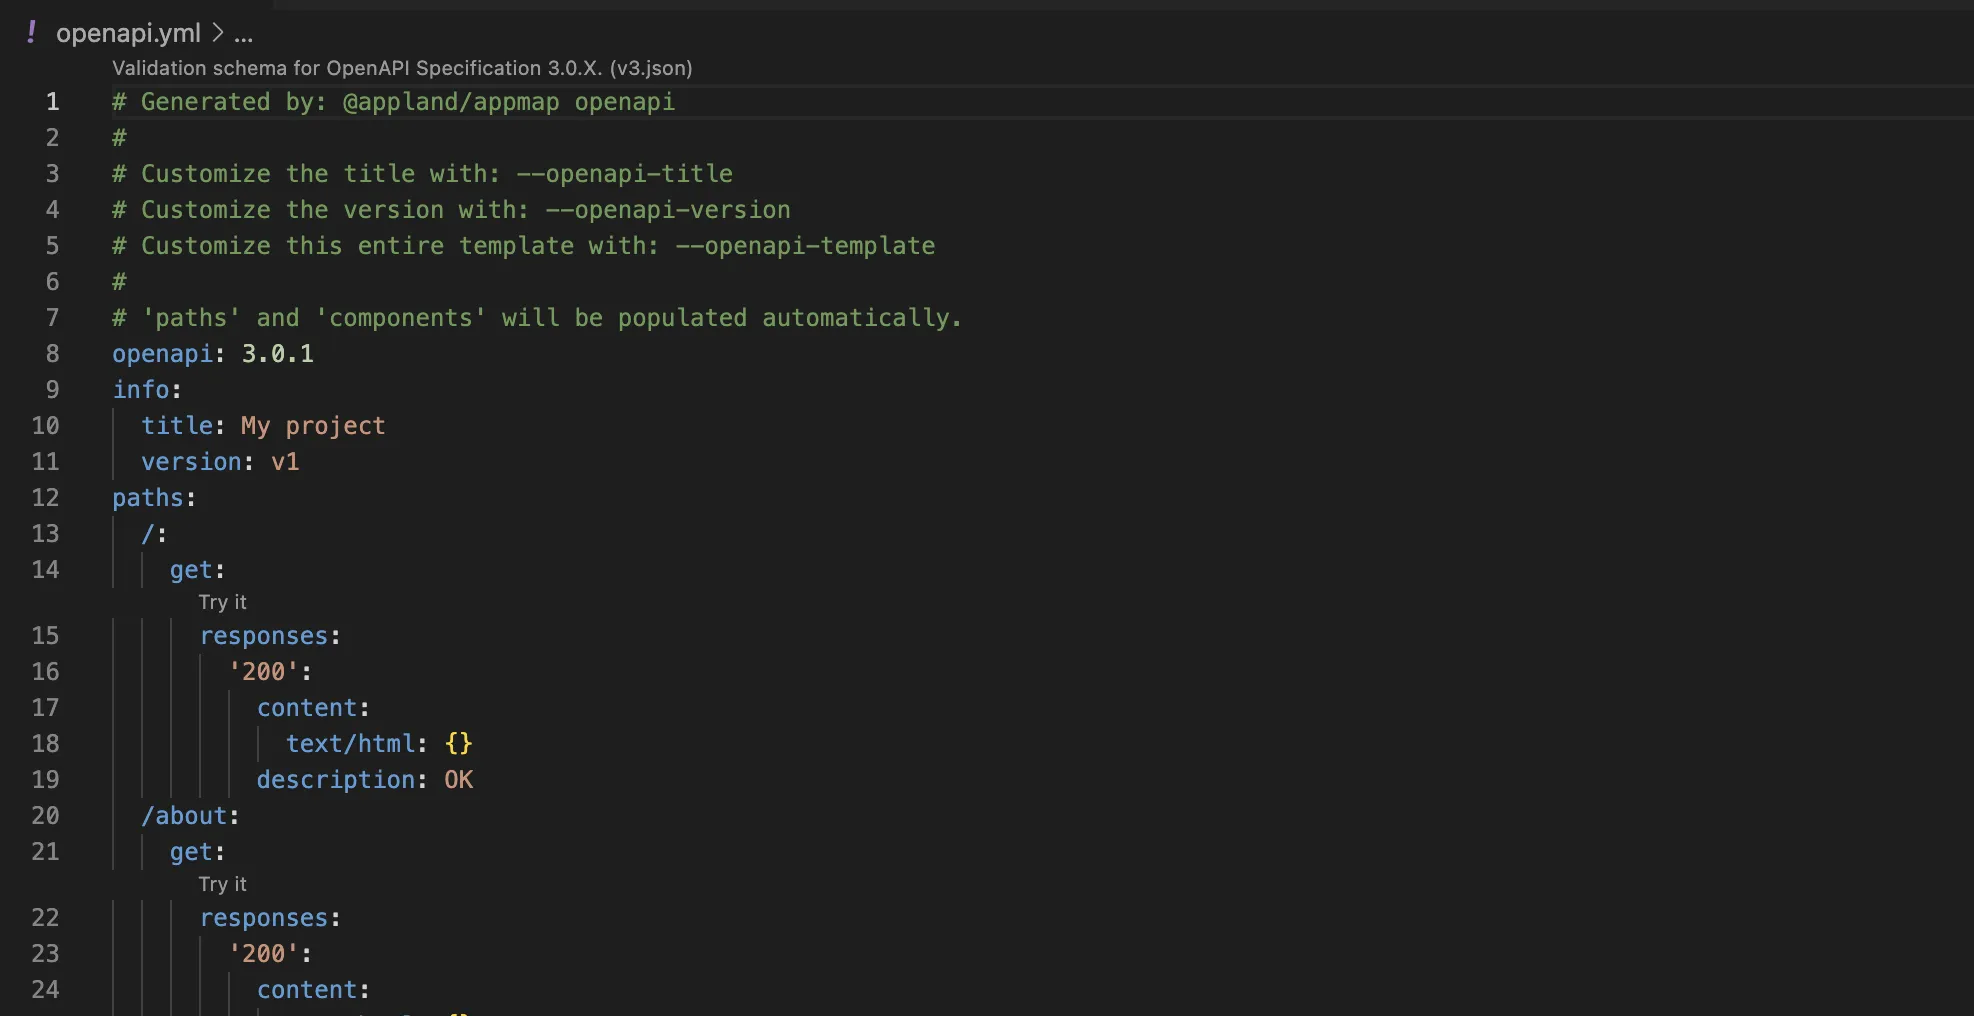
After recording AppMap Data for your project, command pallette using CTRL+SHIFT+P or COMMAND+SHIFT+P on macOS, type AppMap: Generate OpenAPI, then hit Enter. Your OpenAPI specification will be displayed in the editor. Save this data anywhere you need it for later usage or distribution.

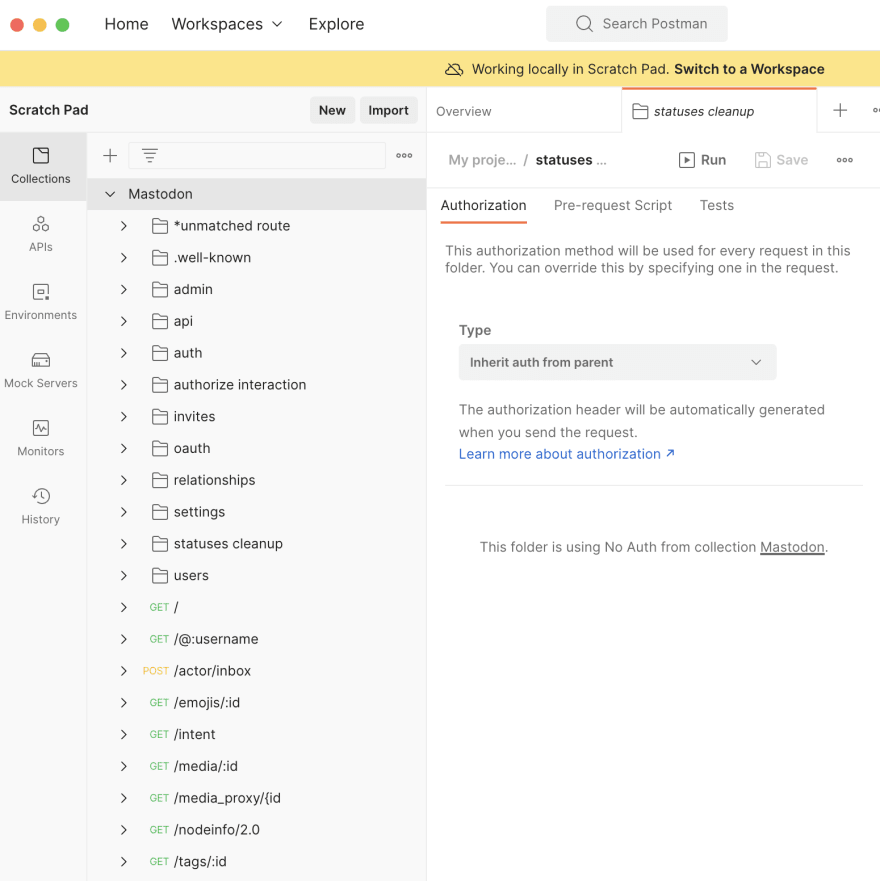
For example: I loaded this API Specification into Postman as a new collection.

Generate with AppMap CLI
If you are not a VS Code user, or if you want to incorporate OpenAPI generation as part of your CI/CD build process, you can run the AppMap CLI command after the rspec tests have completed to similarly output the API documentation to a user-defined output file.
The AppMap CLI is written in JavaScript which makes it easy to run across a variety of platforms. You’ll need Node.js installed or alternatively you can grab pre-built binaries for @appland/appmap on Github.
npx @appland/appmap@latest openapi --output-file openapi.yml
Now you can import this OpenAPI documentation into other tools to more easily interact with your APIs, test new or updated features, and finally export these OpenAPI specifications to your users so that they will know how to interact with your application as well.
You can learn more about other features of AppMap by reviewing our documentation or you can join the developers in our community Slack.
