
Mastodon (4-part series)
Mastodon is free and open-source software for self-hosting social networking services. Mastodon consists of thousands of individual Mastodon hosts that are run by individuals and organizations. I was really excited to see that it was a Ruby on Rails application because in my career I’ve been a Technical Operator who’s had to scale Ruby on Rails applications, but Ruby was also the first language I ever learned.
Ruby on Rails projects are great for getting started with AppMap, so I wanted to document the install process for deploying AppMap inside of Mastodon and generating some AppMap Data to show how it behaves internally.
Install AppMap
I’ve created a fork of Mastodon in my repo based on the 3.5.3 release tag. If you just want to get started and generate some AppMap Data you can just clone my version on GitHub. Otherwise if you want to follow along yourself, you can grab Mastodon from the source and clone the project.
Add the AppMap extension from the VS Code Marketplace
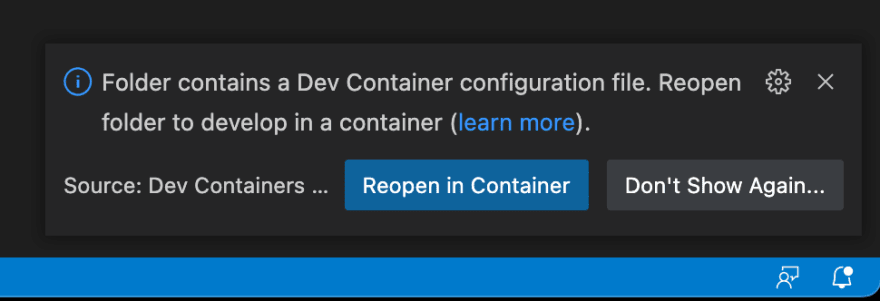
With Mastodon cloned locally, I’ll open the project inside VS Code, and since this project contains a devcontainer.json, VS Code will prompt me to reopen in a container. We’ll dive more into the internals of Dev Containers in a future post, so for now it’s an optional choice.
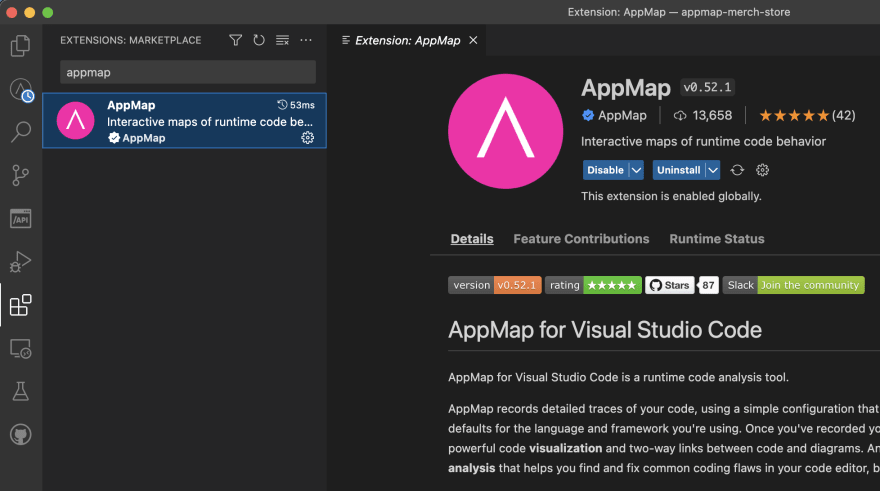
Inside the VS Code editor, search for and install AppMap in the extensions page and install the plugin.
Alternatively, you can install AppMap via the code cli command:
  $ code --install-extension appland.appmap
  Installing extensions...
  Installing extension 'appland.appmap'...
  Extension 'appland.appmap' v0.52.1 was successfully installed.
To ensure other users of your project also install AppMap for their workflows, you can add it to the workplace recommended extensions in the .vscode/extensions.json like:
  {
    "recommendations": ["appland.appmap"]
  }
Add AppMap to the project
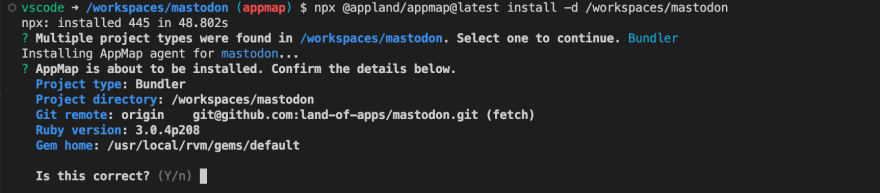
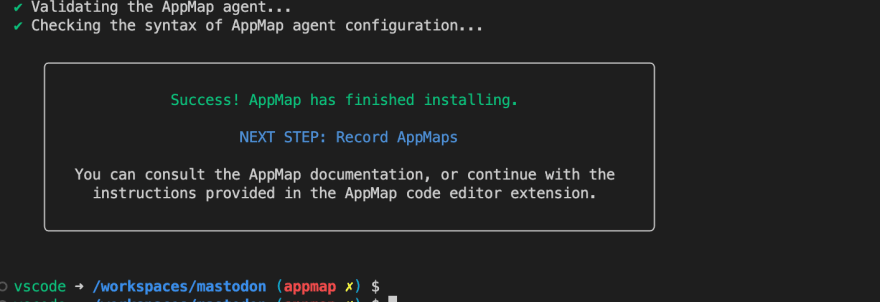
From here, simply click on AppMap in your extensions sidebar, and add AppMap to your project by clicking the button for the automated installer.
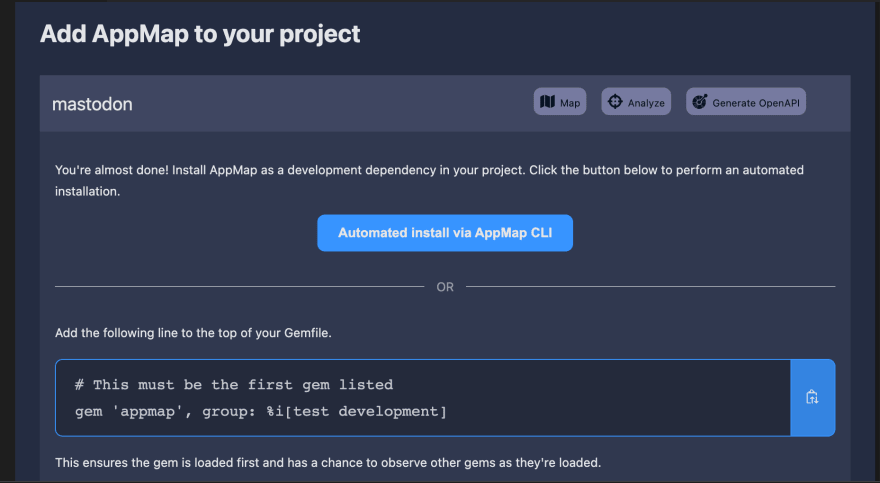
This will launch a terminal window to run the AppMap installer and will set up the appmap gem and configuration file needed to start recording.
Commit AppMap Files to Repo
With AppMap set up and ready to go, commit all the configuration files to your repo so other members of your team can use AppMap and generate maps automatically.
With the install complete, we have only 4 files with changes.

Run Mastodon with AppMap
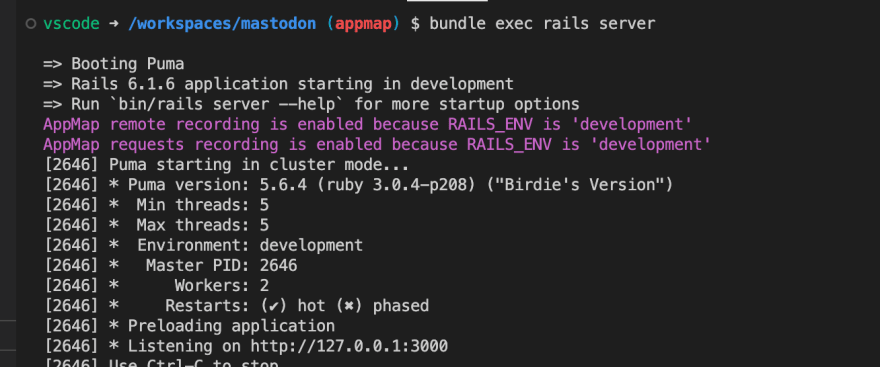
Now we can launch the rails application by running bundle exec rails server. Since the AppMap gem is installed at the top of our Gemfile, AppMap will enable “request recording” by default. This will generate a new AppMap for each request we make into Mastodon and help us better understand what is happening behind each of those API calls.

In future posts, we’ll be diving into more of the details and internals of Dev Containers, including how Mastodon helps contributors get up and running quickly by running all the local dependencies inside of Docker. We’ll also show you how to get set up to run the rspec test suite and how to speed up the Mastodon tests when working on new features.
If you have any questions join us in the AppMap community Slack or send me a message on Mastodon